Zebra ZD410 settings
- Load Driver
- Plug in printer. Plug in USB cable. Turn on printer. Driver usually loads automatically, give it some time.
- If it won’t load, get driver. (Download driver) (Zebra support page).
- Load Paper
- Open printer with two yellow tabs
- Roll yellow wheel in bottom of label compartment to set label width
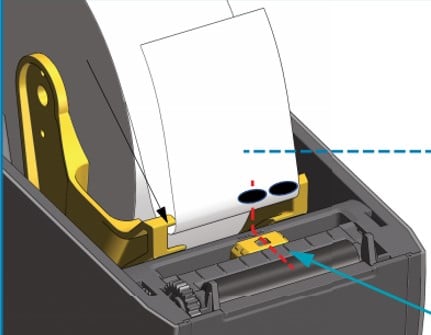
- Check sensor: move one notch to right ~1/8 inch so sensor lines up with through-hole
- Load paper face up
- Close lid
- Calibrate
- With printer turned on, press both Pause and X until calibration starts (about 4 seconds). Let it finish.
- Press center button to feed a label. If it does not feed a single label, recalibrate.
- When calibration is done, press Pause to unpause the printer
- Test print
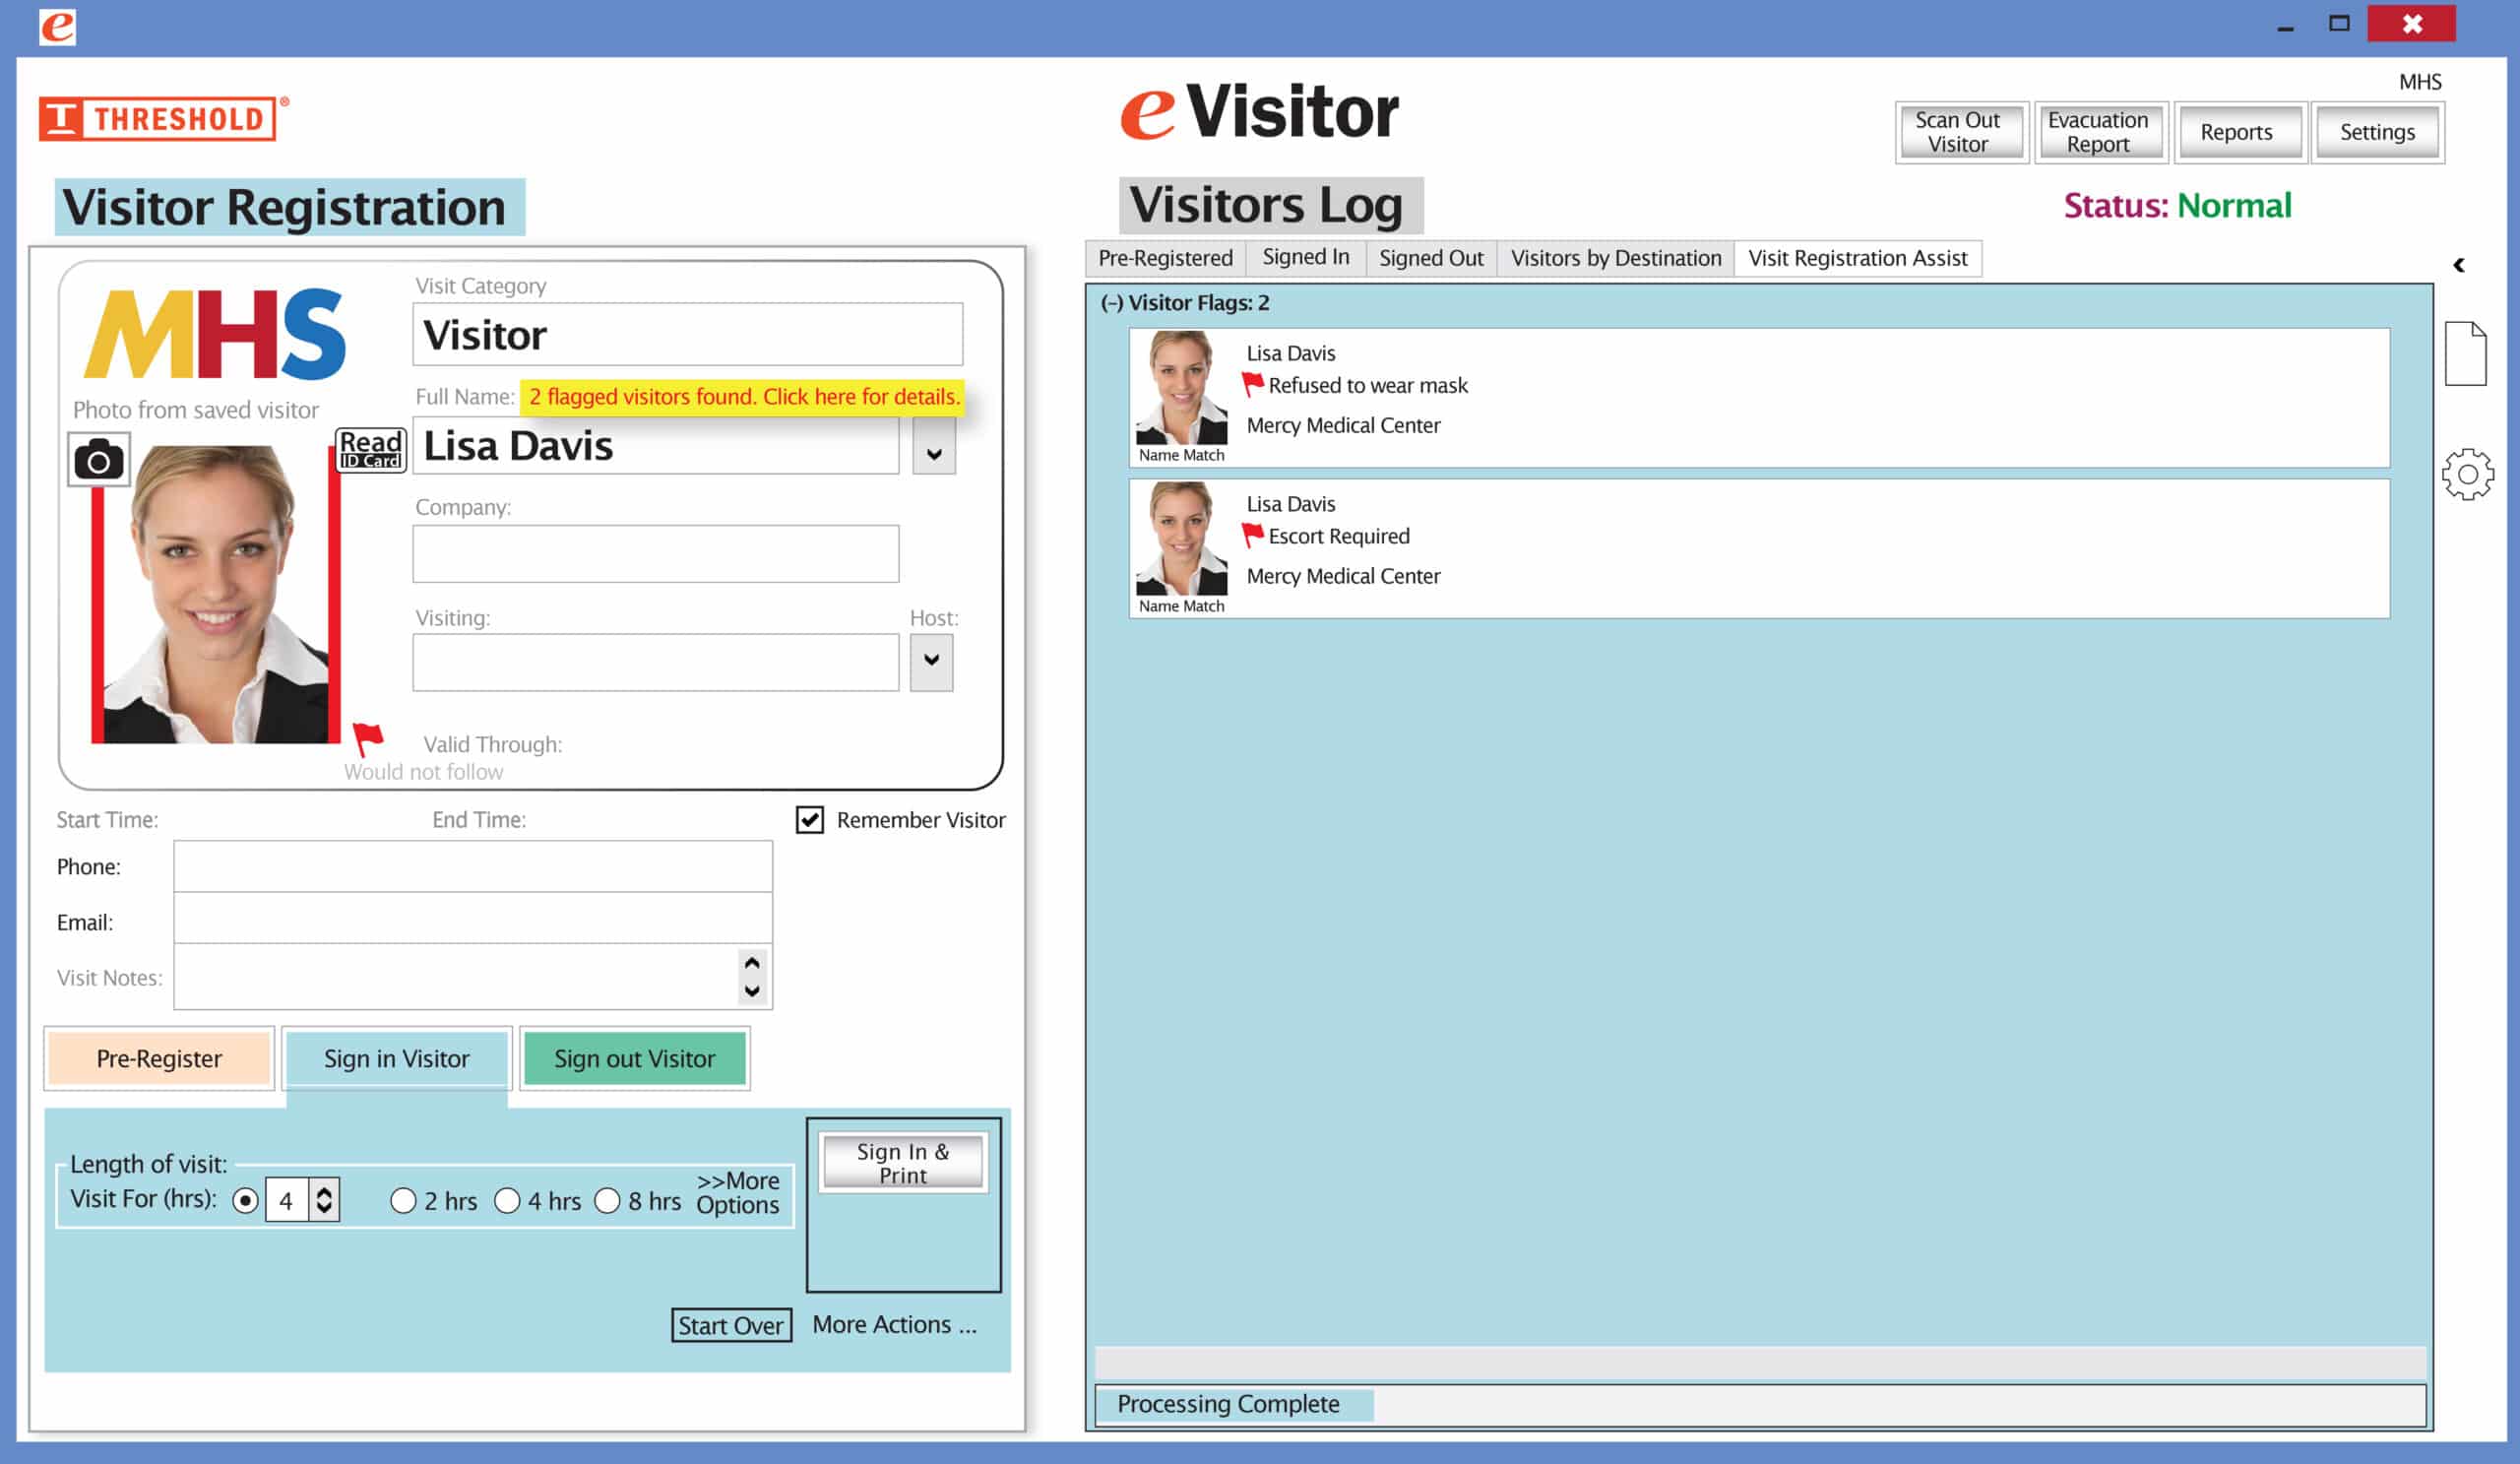
- If eVisitor is not set to a specific printer, it should automatically find the printer
- Test by printing a label from eVisitor
- Setting the Printing Preferences will set the printer properly for the current windows user (Windows logon)
- Setting the Printer Properties will set the printer properly for other new windows users (other Windows logons)
Full Reset of Zebra if needed
- This assumes that your Zebra ZD410 can work properly but needs to be fully reset, calibrated and tested. This is all done without needing a computer. Just the printer, power cord, and labels.
- If you cannot get the configuration page to print, there is no point trying to get eVisitorPass to print.
Physical settings
1. Clean printer (Page 109)
2. Load Media (Page 30)
3. Set Movable Sensor (Page 33 )

- Slide the yellow sensor one notch to the right so it lines up underneath the center-most-hole in the labels
Electronic settings
4. Factory Defaults (Page 99)
- Turn OFF the printer
- Press and hold PAUSE + FEED while turning ON the printer until the Status indicator is the only indicator lit
- The printer configuration is reset to the factory default values. No labels print at the end of this action
5. Calibration (Page 37)
- With printer ON
- Press and hold PAUSE + CANCEL buttons for 4 seconds
- Let it move the labels forward and back till it thinks it found the spaces between the labels
- If it did not stop between the labels, go back to step “5”
- If it DID stop between labels, press the FEED button and see if it can properly feed one label. If not, go back to step “5”
6. Print a Configuration page (Page 38)
- With the printer ON
- Press and hold the FEED + CANCEL buttons for 4 seconds.
Zebra Bluetooth wireless on Windows 10
Note:
- This only works on Zebra printers with Bluetooth and wireless.
- Bluetooth can have some delays in printing.
- Bluetooth transmits a maximum of 30 feet.
- Set computer’s bluetooth adapter to not sleep
- Device Manager
- Bluetooth
- Find the controller, r-click Properties
- Find the controller, r-click Properties
1) Configure the printer’s Bluetooth
- Connect a USB from computer to printer
- Turn on printer
- Use Zebra Setup Utilities
- Select your printer in the printers list
- Configure Printer Connectivity
- Bluetooth
- Friendly Name: eVP-BT (or whatever you want)
- Paring Method: Just works
- Finish, send to printer. Printer should flash then restart
2) Connect a COM port via Bluetooth
- Settings, Devices, Bluetooth, Add Bluetooth, Bluetooth
- Select “eVP-BT”
- Go to “more Bluetooth options”, COM ports, and remember the COM port for the Outgoing direction. (Say COM4:). Cancel
3) Install the windows printer to the COM port
- Settings, Devices, Printers, Add a printer, Printer not listed
- Add a local printer with manual
- Select the correct COM port (Say COM4:)
- Select Zebra, ZD410, 300DPI, ZPL
- Name it” ZD410-BT
- No sharing
- Print test page
Settings for 4" non adhesive badges:
Set eVP template to “not tab expiring” (DMI tech support will do this)
Printing Preferences, Tools, Load Factory Defaults
Printer Properties, Advanced, Printing Defaults
Rotate 180 (Will not be needed after version 1.5.0.0)
Width = 2
Height = 4.2
Thermal Direct
Mark Sensing
Tear Off = 0.2 (adjust as needed)
Apply
Calibrate
No backfeed
Power cycle printer
Print test page (windows)
Test with eVisitor
If the settings above don’t work for you, please call 800-243-1969 and we can help.
You may need to make some other adjustments for your environment.

