Star TSP700 Series Direct Thermal Printer Settings
1. Install labels into printer
- Unpack printer and plug into power.
- Load labels into printer. They go face down.
2. Configure Windows
- Plug the USB cord into the computer and load the driver. As of Jan 2022, the driver is ver 3.7.2.
- For Threshold badges SKU=ZBT4-250.
- Set paper size: Printing Properties”, “Device Settings” tab, “Form to Tray Assignment” Select “52mm x 200mm”.
- Change “Paper Type” to “Black Mark”.
- Expand the “Paper Cut” option and change the “Document Bottom” option to “Full Cut”.
- Print a test page.
- Note: If you can’t reliably print a Windows test page, eVisitor will probably not be able to print.
3. Configure eVisitor
- Login to eVisitor.
- Go to settings, devices, label printer and point to the Star TSP743II.
- Set Badge Print Res to “300”. ???
- Select “Force Pre-processing”. ???
- Test by printing several badges.

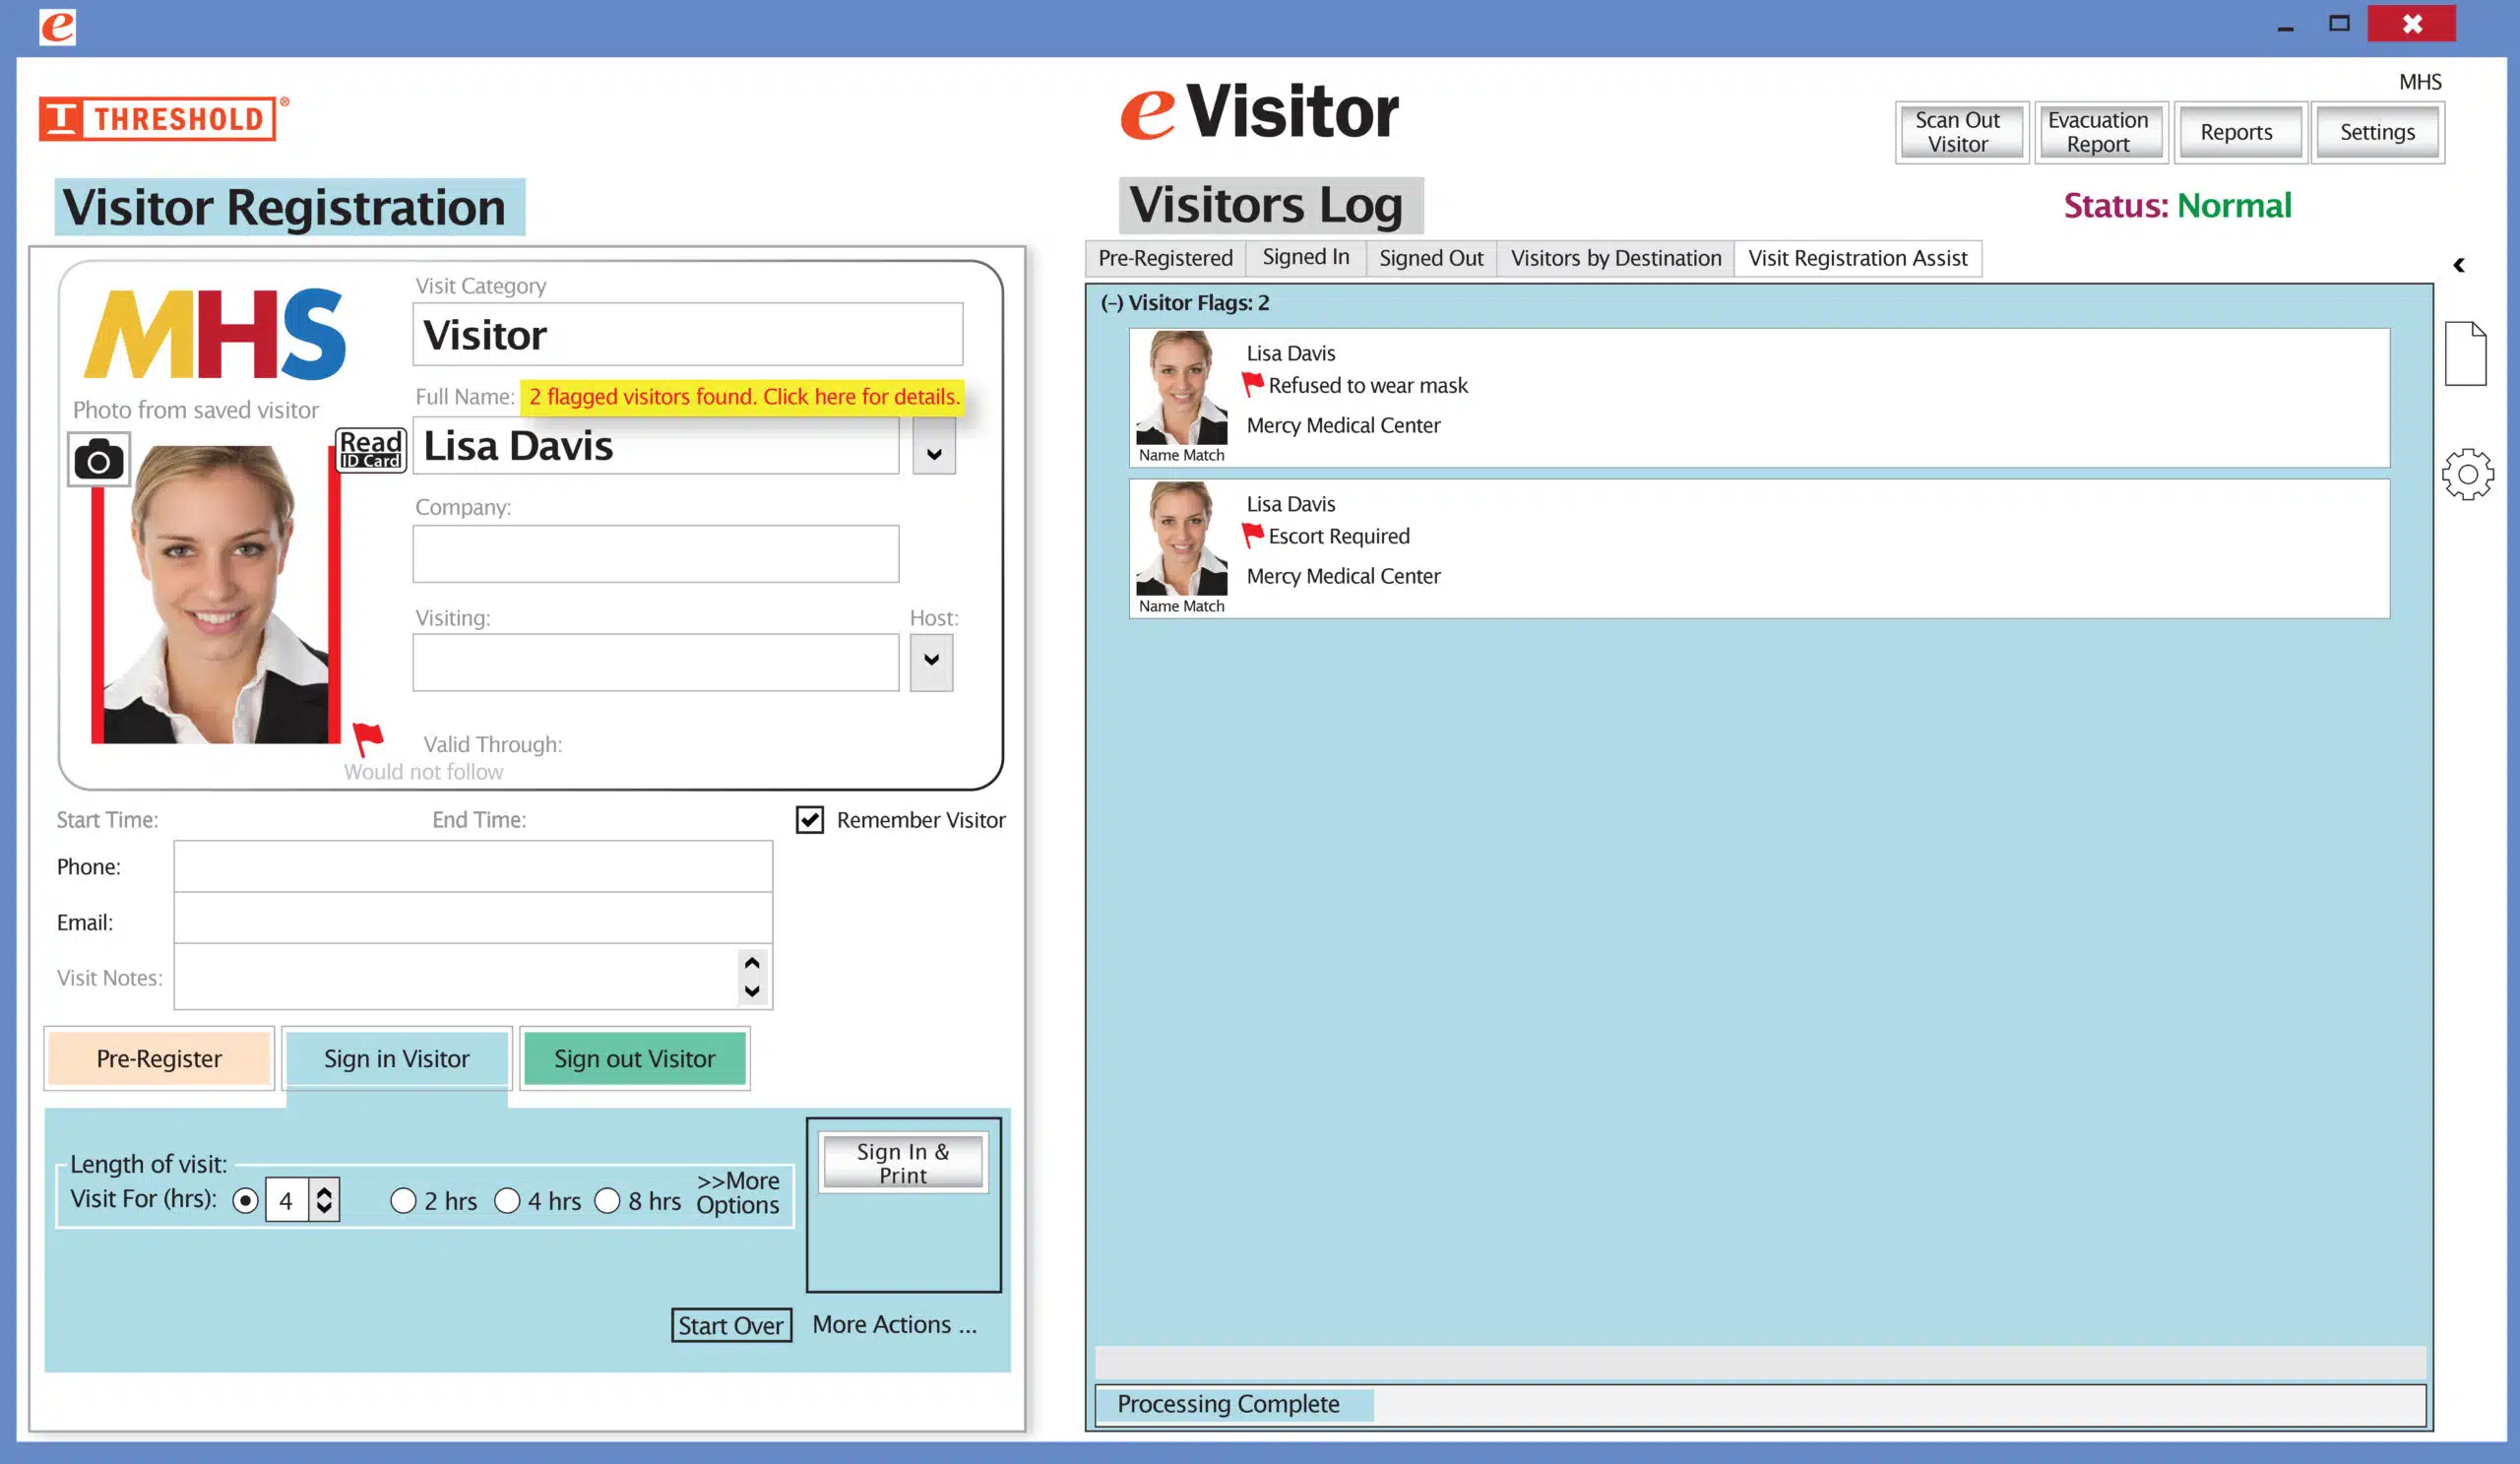
 It’s easy and free to activate this feature. Simply call us and ask for “Red Flag, No Badge” to be turned on. Once it’s on, the above pop-up will come up when a red flagged visitor comes back. No badge will print and the attendant will need to follow the facility’s policy for handling red flagged visitors.